A cabinet color that looks great on day one can quickly become a disappointment if paint chips around handles, peels near the sink, or feels tacky for weeks. When you paint kitchen cabinets, the finish is only as good as the preparation underneath it. The right process can give an older kitchen a clean, updated look without replacing functional cabinetry.
Is Painting the Right Choice for Your Cabinets?
Painting works especially well when cabinet boxes are sturdy, doors are straight, and the layout already meets your household’s needs. Solid wood, properly prepared wood veneer, and many previously painted cabinets are strong candidates for a new finish.
It is not always the best answer. Cabinets with swollen particleboard, failing veneer, water damage, loose joints, or broken door hardware may need repairs before any paint goes on. A fresh color cannot correct structural problems, and painting over damage can make it more noticeable.
For Knoxville homeowners, cabinet painting is often a practical middle ground between living with a dated kitchen and taking on a full renovation. It can brighten a dark room, make worn finishes look intentional again, and help existing counters and floors feel more current. Still, the job demands patience. Skipping steps to save a weekend usually creates touch-ups that last much longer than the project itself.
Before You Paint Kitchen Cabinets, Check the Surface
Open every door and drawer before choosing a paint color. Look for grease buildup around the range, water staining under the sink, peeling finish near the dishwasher, and areas where doors rub against one another. These details affect how the paint adheres and whether the finished cabinets operate properly.
Label each door and drawer as you remove it. A small piece of painter’s tape marked with its location can prevent a frustrating reinstallation process later. Place hinges, screws, bumpers, and other hardware in separate labeled bags. If you plan to reuse handles and pulls, clean them thoroughly while the cabinet doors are off.
Cabinet surfaces need a close inspection as well. Hairline cracks, old hardware holes, dents, and open seams should be filled with a paintable wood filler. After it dries, sand the repair flush with the surrounding surface. Do not expect primer to hide deep damage. Primer helps paint bond and creates a consistent base, but it is not a substitute for repair work.
Preparation Determines the Finish
The most visible part of a cabinet project is the new color. The most valuable part is the cleaning, sanding, and priming that happens first. Kitchens collect cooking oils, fingerprints, polish residue, and airborne grease, even when cabinets appear clean at a glance.
Start by removing doors, drawer fronts, and hardware. Protect countertops, appliances, floors, and nearby walls with drop cloths and masking materials. Then clean every surface with a degreasing cleaner appropriate for painted surfaces. Pay extra attention to cabinet frames around knobs, lower doors near the floor, and upper cabinets closest to the stove.
Once clean and dry, lightly sand the doors, drawer fronts, and cabinet frames to dull the existing sheen. The goal is not to sand cabinets down to bare wood unless the old finish is failing. You are creating a surface the primer can grip. Wipe away all sanding dust with a vacuum and a clean, lint-free cloth before priming.
For a typical project, the essential supplies include:
- Degreasing cleaner, clean cloths, and a vacuum
- Sandpaper or sanding sponges in suitable grits
- Paintable wood filler and a putty knife
- High-quality bonding primer
- Cabinet-grade paint, brushes, rollers, and a small angled brush
- Drop cloths, painter’s tape, and labeled bags for hardware
A clean work area matters. Dust, pet hair, and lint can settle into wet paint and leave a rough finish that is hard to correct once it dries.
Choose Paint Made for Cabinets
Wall paint is rarely the right choice for cabinet doors. Kitchen cabinets are touched constantly, exposed to moisture and food splatter, and cleaned more often than most painted surfaces. Choose a durable paint designed for cabinets, trim, or doors, preferably one that levels well and cures to a washable finish.
Sheen is a practical decision as much as a style decision. Satin and semi-gloss are common choices because they are easier to wipe clean than flat finishes. Satin tends to soften imperfections and offer a more understated appearance. Semi-gloss reflects more light and is highly washable, but it can make dents, brush marks, and uneven surfaces easier to see.
Color deserves a test before commitment. Paint a sample board or an inconspicuous cabinet area, then look at it in morning light, evening light, and with the kitchen lights on. A warm white may look crisp in one kitchen and yellow in another. Dark colors can create a dramatic update, but they may show dust, scratches, and fingerprints more readily than mid-tone shades.
Apply Thin, Even Coats
Prime first, especially when painting bare wood, glossy cabinetry, stained finishes, or a major color change. A bonding primer improves adhesion and helps prevent old wood tones or stains from bleeding through. Follow the product’s drying instructions before sanding lightly if needed and applying paint.
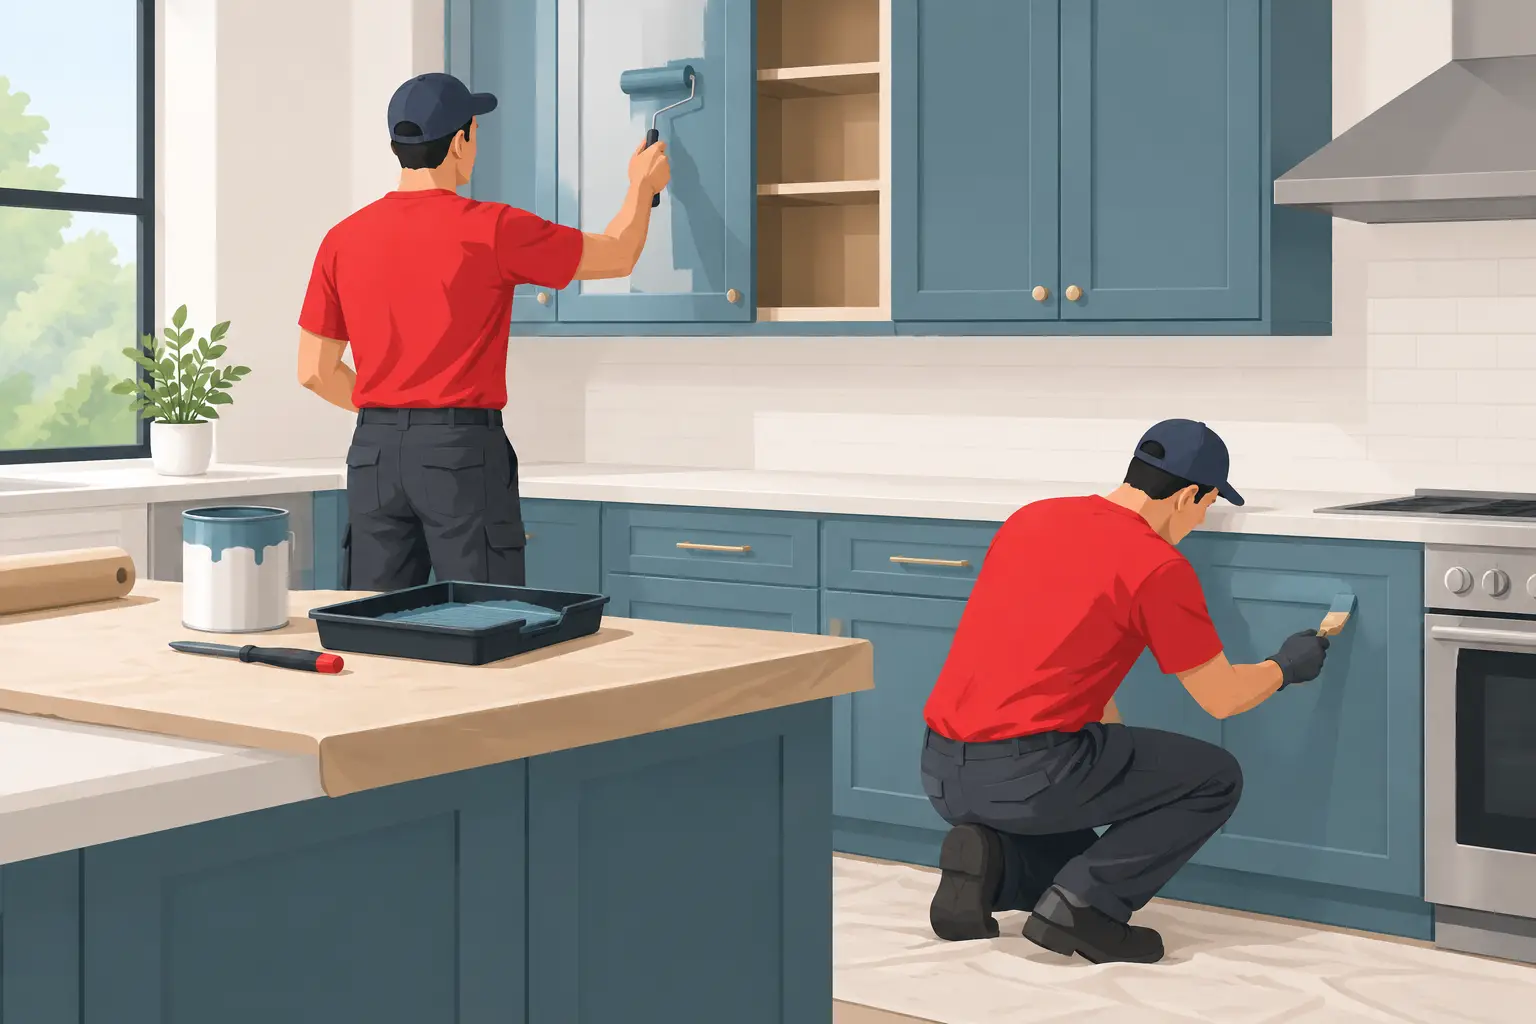
Use a quality angled brush for routed edges, corners, and detailed profiles. A small foam or microfiber roller can create a smoother finish on broad, flat areas. Work from inside edges outward, keeping a wet edge so lap marks do not develop. Thin coats are better than one heavy coat, which can sag, wrinkle, or remain soft underneath.
Most cabinets need at least two finish coats for consistent coverage. Let each coat dry fully as directed, and lightly sand between coats only when the paint system calls for it or when you need to remove a raised grain or small imperfection. Wipe away dust completely before applying the next coat.
Door fronts should be painted on a stable, protected surface where they can remain undisturbed. If both sides need paint, finish one side, allow adequate drying time, then turn the door carefully to paint the other. Rushing this stage can leave marks in otherwise smooth paint.
Let the Finish Cure Before Heavy Use
Dry paint and cured paint are not the same thing. Doors may feel dry within hours, but the finish often needs days or longer to harden fully. Reinstall doors only after they can be handled safely, then use cabinets gently while the paint cures.
Avoid scrubbing, slamming doors, hanging damp towels over cabinet fronts, or allowing cookware to scrape painted surfaces during this period. Once cured, clean cabinets with a soft cloth and mild cleaner rather than abrasive pads or harsh chemicals.
When Professional Help Makes Sense
Painting cabinets can be a rewarding project, but the details add up quickly. Complex door styles, heavy grease buildup, repairs, damaged veneer, or a kitchen that must stay functional for a busy family can make professional help worthwhile. Experienced preparation and application are often what separate a fresh-looking finish from one that begins failing at the edges.
Smart Home Fix provides dependable home improvement support for homeowners in Knoxville and nearby communities. As a licensed and insured local team, we can help assess whether your cabinets are good candidates for paint, address needed repairs, and complete the work with care.
A well-painted cabinet finish should make your kitchen easier to enjoy, not add another maintenance problem to your list. Give the prep work the time it deserves, choose materials made for daily use, and let the finish cure before putting the kitchen back to work.