A scraped baseboard can make an otherwise clean room look unfinished. The good news is that learning how to repair damaged baseboards usually does not require replacing every piece of trim. With the right repair method, homeowners can correct dents, chips, loose sections, and minor water damage while keeping the room’s finished appearance intact.
The key is identifying what caused the damage before reaching for filler or paint. A small vacuum scuff needs a different fix than trim that has swollen from a leaking toilet or pulled away from the wall. Repairing the visible damage without addressing the source can lead to the same problem returning.
Start by Assessing the Baseboard Damage
Look closely at the damaged area in good lighting. Surface scuffs, shallow dents, nail holes, and small chips are usually straightforward cosmetic repairs. Deep gouges may require rebuilding the profile with wood filler or replacing a short section of trim.
If the baseboard feels soft, looks swollen, has dark staining, or separates into layers, moisture is likely involved. Find and correct the water source first. That could be a plumbing leak, damp entryway, overflowing tub, pet accident, or moisture coming through an exterior wall. Trim that remains wet or moldy should generally be removed and replaced rather than covered with paint.
Also check whether the damage is limited to the baseboard. Drywall near the floor, flooring edges, and caulk lines can reveal a larger issue. A repair looks its best when the wall, trim, and floor meet cleanly again.
Gather the Right Tools and Materials
For most minor baseboard repairs, a few basic supplies will handle the job. The exact materials depend on whether your trim is painted wood, MDF, or another composite product.
- Putty knife, sanding sponge, and fine-grit sandpaper
- Paintable wood filler or two-part wood epoxy for deeper damage
- Paintable caulk and a caulk gun
- Finish nails or a brad nailer for loose trim
- Primer and matching trim paint
A damp cloth, utility knife, and small pry bar are also useful. If you are replacing a section, bring a small offcut to the store when possible. Matching the height, thickness, and top profile of existing baseboards is more important than many homeowners expect.
Repair Scuffs, Small Dents, and Nail Holes
For light scuffs, begin with a gentle cleaning. Dirt and rubber marks from shoes, furniture, and vacuum cleaners can sometimes come off with mild soap and water. Dry the trim completely before deciding whether it needs touch-up paint.
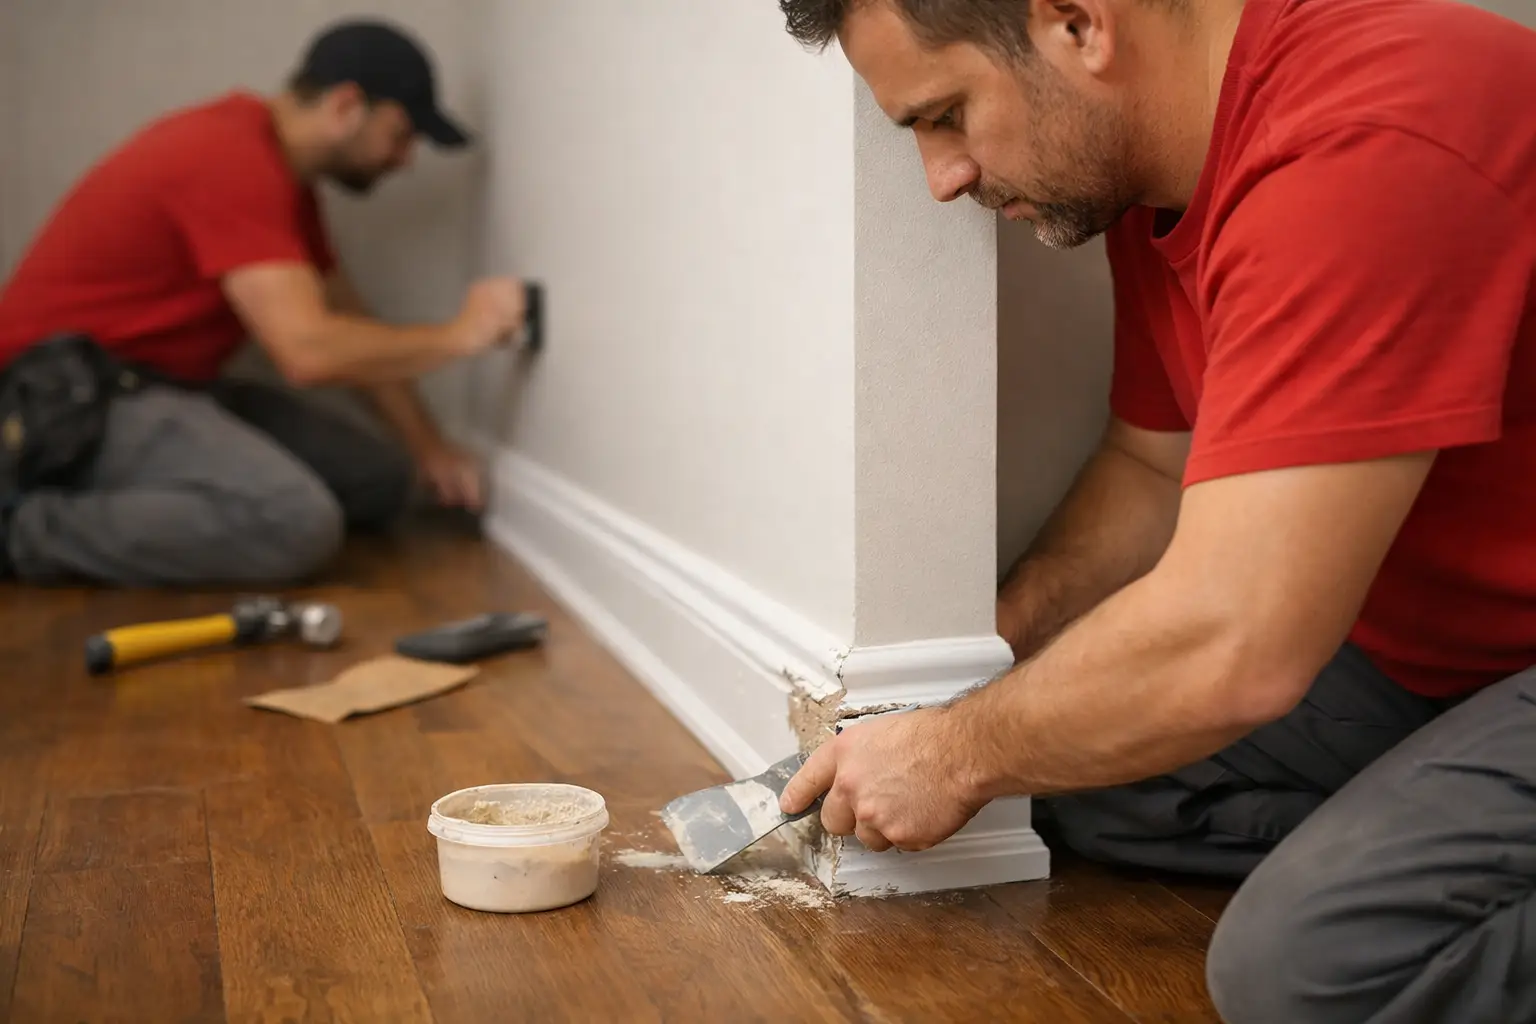
Small dents and nail holes need a thin application of paintable wood filler. Press the filler into the damaged spot with a putty knife, then scrape away the excess so the patch is close to flush with the surrounding surface. Let it dry according to the product directions.
Sand the repaired area lightly with fine-grit sandpaper until it feels smooth to the touch. Do not sand aggressively, especially on MDF baseboards, because it can damage the factory-smooth outer layer. Wipe away sanding dust, spot-prime the repair if needed, and apply matching trim paint in thin, even coats.
A little patience matters here. Thick paint can leave a raised patch that catches the light more than the original dent did.
Fix Chips and Deep Gouges in Painted Trim
Deep chips often happen near doorways, furniture corners, and high-traffic hallways. Standard lightweight filler can work for a shallow chip, but it may crack or shrink when used to fill a larger missing section. For a more durable repair, use a high-quality wood filler designed for deeper fills or a two-part epoxy filler.
Clean loose paint and splintered material from the damaged area first. Use a utility knife to remove only what is unstable, creating a solid edge for the filler to bond to. Mix and apply the repair material in layers if the gouge is especially deep. Building it up gradually reduces shrinkage and makes shaping easier.
Once cured, sand the patch until it follows the baseboard’s original contour. This takes a careful eye, particularly on decorative trim with rounded or beveled edges. Prime the repaired spot before painting. Primer helps the patch absorb paint evenly and prevents a dull, uneven finish.
Reattach Loose Baseboards
A baseboard can loosen when the wall shifts slightly, the original nails lose their grip, or repeated impacts pull it away from the drywall. If the board is still straight and undamaged, it can often be reattached without removal.
First, press the baseboard gently back toward the wall. If old caulk is holding it unevenly, cut the caulk line with a utility knife. Add construction adhesive sparingly to the back only when needed, then fasten the trim with finish nails or brad nails into wall studs where possible.
Set nail heads slightly below the surface, fill the holes, and sand after the filler dries. Finish with a narrow bead of paintable caulk along the top edge where the baseboard meets the wall. Smooth the caulk with a damp finger or caulk tool for a clean line, then touch up the paint.
Avoid forcing a warped board flat with nails alone. If the trim has twisted or bowed from moisture, replacement will usually produce a better, longer-lasting result.
Replace Water-Damaged or Broken Sections
When a baseboard is soft, swollen, badly cracked, or stained beyond repair, replacing the affected section is the smart choice. This is especially common around bathrooms, kitchens, laundry rooms, and exterior doors. Never install new trim until the area behind it is fully dry and the moisture problem is resolved.
Score the caulk line at the top of the trim and use a pry bar carefully to remove the damaged piece. Place a thin scrap of wood behind the pry bar to protect the drywall. Pull nails from the back of the removed baseboard when possible rather than pulling them through the face, which can split the trim further.
Measure the opening precisely and cut the replacement piece to fit. Straight cuts are suitable where the new piece meets a door casing or an existing butt joint. In a corner, the cut style depends on the existing trim and your comfort level. Outside corners typically use mitered cuts, while inside corners can be mitered or coped.
Before fastening the new piece, dry-fit it. The top edge should line up with adjacent trim, and the face should sit evenly against the wall. Nail it securely, fill the nail holes, caulk the gaps, prime if necessary, and paint the repaired section. Painting the full wall or full run of trim can provide the most consistent finish when the existing paint has faded or yellowed.
Know When a DIY Repair Is Not Enough
Baseboard damage is sometimes a sign of a problem hidden behind the trim. Call for professional help when you see repeated moisture, mold, extensive drywall damage, active plumbing leaks, insect damage, or flooring that has lifted near the wall. These issues need attention before cosmetic repairs begin.
Older Knoxville homes may also have several layers of old paint. If you suspect lead-based paint, particularly in a home built before 1978, avoid dry scraping or sanding without appropriate safety precautions. A qualified professional can help manage the repair safely and minimize dust in the home.
For homeowners who would rather skip measuring, cutting, patching, and paint matching, Smart Home Fix provides dependable repair help from licensed and insured local professionals. A skilled handyman can evaluate whether a baseboard should be patched, reattached, or replaced and can handle the surrounding caulk, drywall, and paint touch-ups as part of a polished repair.
Protect Your Baseboards After the Repair
Once the trim is restored, a few habits can help it stay that way. Add felt pads to furniture legs, keep mops and wet towels away from trim, and use care when vacuuming close to walls. In entryways and areas where pets come in from outside, clean up moisture promptly before it can wick into the baseboard.
A repaired baseboard should blend into the room rather than call attention to itself. Taking time to solve the cause, prepare the surface, and finish the paint carefully will give the repair the clean, durable result your home deserves.