A hairline crack in a shower wall or tile floor can look minor, but it is worth addressing before water, movement, or loose tile turn a simple repair into a larger project. Knowing how to fix cracked grout lines starts with recognizing why the grout failed. The right repair depends on whether the crack is isolated, recurring, located near a joint, or connected to a moisture problem behind the tile.
Why Grout Lines Crack in the First Place
Grout is hard, but it is not flexible. It fills the spaces between tiles and helps create a finished, easy-to-clean surface. When the surface beneath the tile shifts even slightly, rigid grout can crack.
Normal settling can cause minor cracks in some homes, especially around floors, tubs, and showers. Temperature changes, foot traffic, and vibration can also contribute. In Knoxville-area homes, seasonal humidity changes may add movement to wood-framed floors and bathroom surfaces over time.
Sometimes the cause is more direct. A tile may not have enough mortar beneath it, a subfloor may flex, or water may have reached the material behind the tile. Cracked grout at the bottom of a shower wall, where the wall meets the shower pan or tub, is especially common because that joint needs flexibility. It should usually be sealed with color-matched silicone caulk, not new grout.
The repair itself is straightforward only when the tiles are secure and the crack is not a symptom of a deeper issue.
How to Fix Cracked Grout Lines on Stable Tile
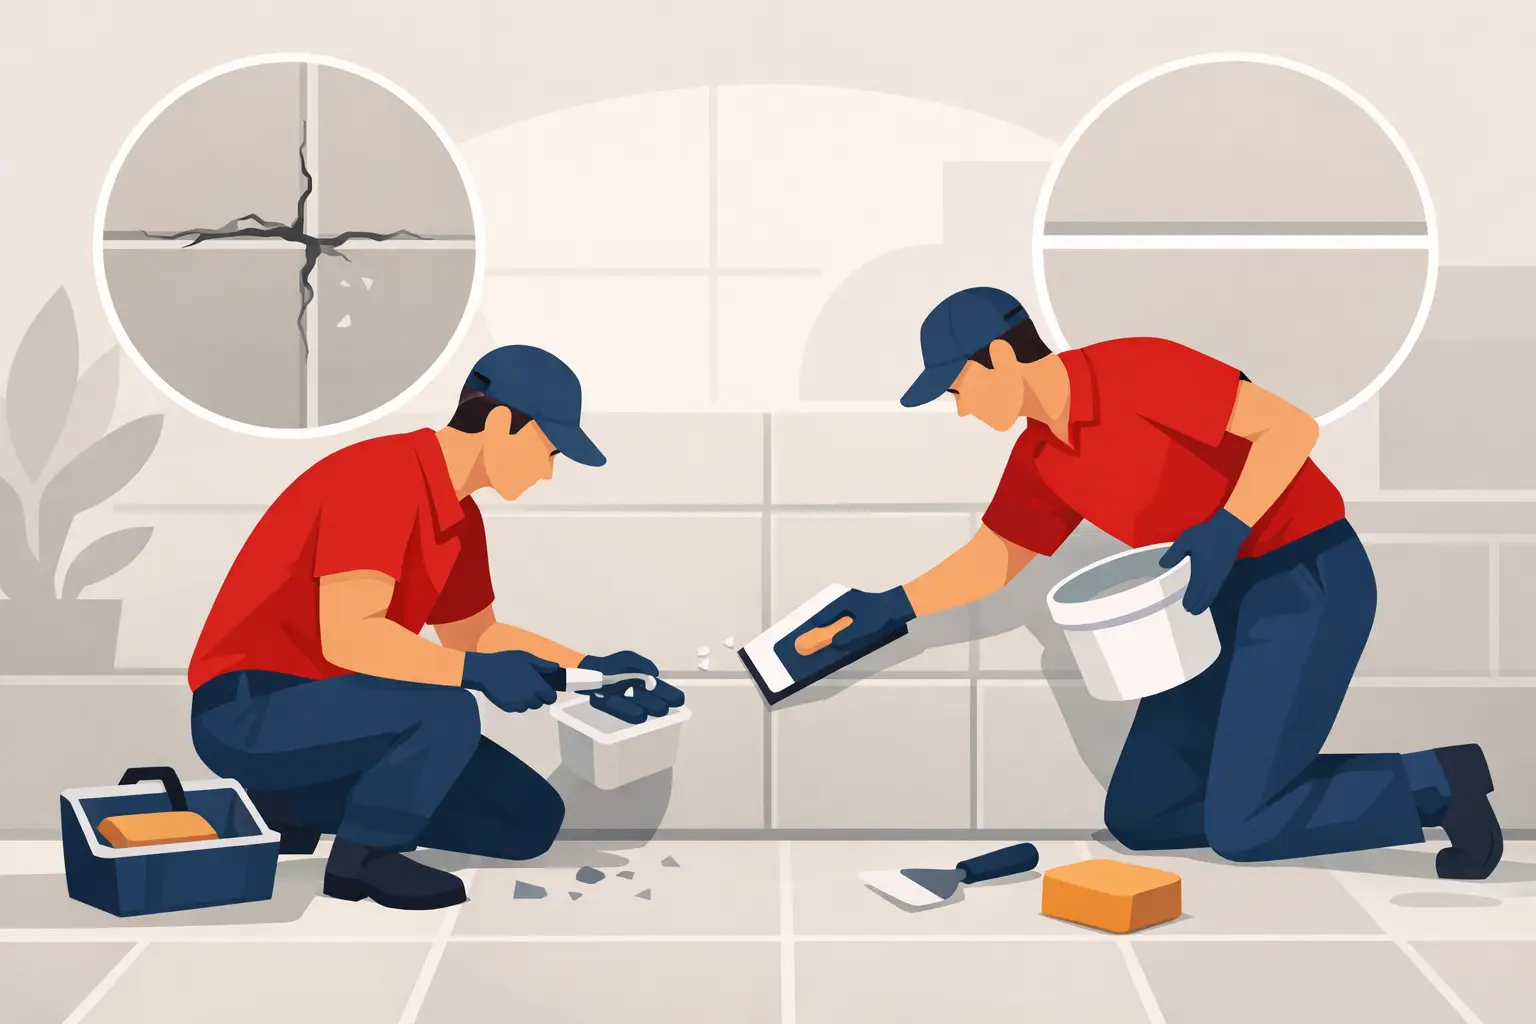
For a small crack surrounded by solid, well-bonded tile, removing the failed grout and replacing it is the most dependable approach. Smearing fresh grout over a crack may improve the appearance temporarily, but it rarely creates a lasting repair. The new material needs clean, open space to bond properly.
Check the Tile Before You Begin
Press gently on the tiles beside the crack. They should not shift, rock, or sound noticeably hollow compared with nearby tile. Look for multiple cracks that follow a pattern, loose tiles, stains, soft drywall, or recurring mildew. Those signs can point to movement or moisture behind the surface.
If the tile is firm and the crack is limited, you can move forward with a grout repair. If tiles move under pressure, stop there. Regrouting alone will not correct a loose tile or damaged backing material.
Remove the Damaged Grout
Use a manual grout saw or an oscillating tool fitted with a grout-removal blade. Work carefully down the cracked line, removing the loose material without chipping the edges of the tile. For a sound repair, clear out at least two-thirds of the grout depth where possible.
Vacuum the joint thoroughly, then wipe away remaining dust with a clean, damp sponge. Let the area dry completely. Dust, moisture, soap residue, and loose fragments can prevent new grout from bonding as intended.
Take extra care around glass tile, natural stone, and the edges of a shower pan. These surfaces can be damaged by aggressive scraping or the wrong cleaning products.
Apply the Right Grout
Match the existing grout as closely as practical. Color can change over time from cleaning products, sunlight, and everyday use, so a new patch may look slightly different at first. Testing a small amount in an inconspicuous spot can help set expectations.
Use the grout type appropriate for the tile joint and location. Many modern pre-mixed grouts are convenient for small repairs, while cement-based and epoxy grouts each have specific strengths. A bathroom floor, a shower wall, and a kitchen backsplash do not always need the same product.
Press the grout firmly into the cleaned joint with a rubber grout float, moving diagonally across the tile lines. Remove excess material with the float, then follow the product instructions for initial cleanup. A lightly damp sponge is usually used after the grout begins to set, but too much water can weaken or discolor a cement-based grout.
Allow the repair to cure fully before exposing it to heavy use or water. In a shower, that means waiting for the manufacturer’s stated cure time before using the space again.
When Cracked Grout Should Be Caulk Instead
One of the most common repair mistakes is applying grout where two different surfaces meet. Grout belongs between tiles on the same stable plane. Flexible sealant belongs at changes of plane and around fixtures.
Use mildew-resistant, color-matched silicone caulk at areas such as the joint where a shower wall meets the shower floor, where tile meets a bathtub, at inside shower corners, and where a tile backsplash meets a countertop. These areas move independently, even when the movement is too small to see.
If grout has cracked repeatedly in one of these locations, remove it carefully and replace it with the proper flexible sealant. This is not a shortcut. It is the correct material for the job and helps keep water out of vulnerable gaps.
Signs the Crack May Be More Than a Surface Repair
A single short crack in older grout is often manageable. Repeated cracks or cracks combined with other changes deserve a closer look. Tile systems depend on a stable base, sound installation, and reliable moisture protection. When one of those elements fails, the visible grout crack may be the first warning sign.
Watch for these concerns:
- Tiles that rock, lift, or feel loose underfoot
- Cracks that return soon after repair
- Several cracked lines spreading across a floor or shower wall
- Dark stains, peeling paint, swollen trim, or soft drywall near tiled areas
- A musty odor, persistent mildew, or water appearing outside the shower
- Floor tile cracks that align with cracked grout or run across multiple tiles
A cracked shower grout line deserves prompt attention because showers are exposed to water every day. Grout itself is not the waterproof layer behind tile. A properly built shower relies on a waterproofing system beneath the finished tile surface. If moisture has reached the wall board, framing, or subfloor, simply filling the crack will not solve the underlying problem.
Preventing New Grout Cracks
Good maintenance can extend the life of grout, although it cannot overcome a moving floor or failing tile installation. Clean tile with a non-abrasive cleaner instead of harsh acids or overly aggressive scrubbing tools. These can wear away grout and damage some tile finishes.
Keep shower corners, tub edges, and other caulked joints in good condition. Replace caulk when it pulls away, splits, or develops staining that does not clean off. Run the bathroom exhaust fan during showers and for a while afterward to reduce lingering humidity.
On tile floors, address spills promptly and avoid allowing water to sit at perimeter edges. If a floor feels bouncy, investigate that issue before repairing several cracked grout lines. The tile may need a more substantial correction than a cosmetic grout touch-up.
When to Call a Professional
A homeowner can often handle a small, isolated grout repair with patience and the correct materials. Professional help makes more sense when the damage affects a shower, involves loose tiles, keeps coming back, or may be connected to water intrusion. It is also a practical choice when matching grout, removing old material cleanly, and protecting nearby tile feels like more work than the repair is worth.
A qualified handyman can evaluate the visible damage, repair stable grout and caulk joints, replace individual loose tiles when appropriate, and help determine when a larger tile or moisture repair is needed. Smart Home Fix provides dependable residential repair support for homeowners in Knoxville and surrounding communities who want the work handled carefully and professionally.
A grout crack does not always mean major trouble, but it should not be ignored. Address it while the tiles are secure and the surrounding area is dry, and you give your bathroom, kitchen, or floor the best chance to stay in good shape for years to come.