
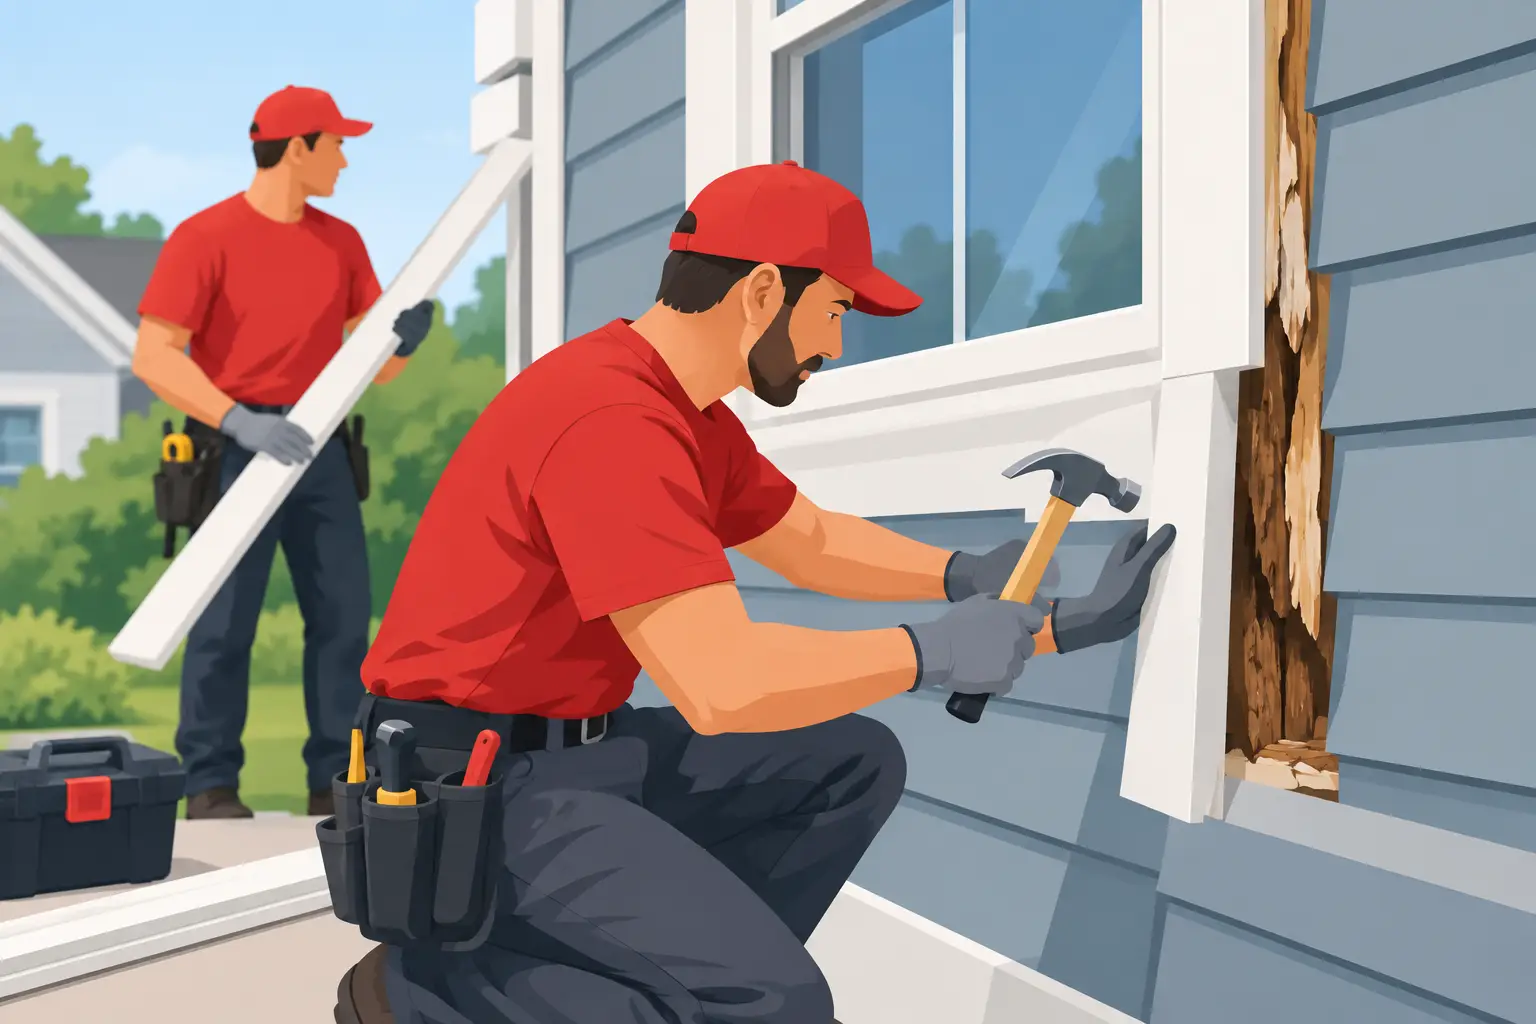
A soft spot near a window or a peeling board at the roofline may look like a small cosmetic problem. Often, it is the visible result of water getting behind the paint, caulk, or flashing for months. When you replace rotten exterior trim, the goal is not simply to install a clean new board. It is to remove damaged material, find the source of moisture, and rebuild the area so it stays dry.
For Knoxville homeowners, exterior trim takes a beating from humid summers, frequent rain, temperature swings, and shaded areas that stay damp longer. Addressing rot early protects the siding, sheathing, and framing behind it from a much larger repair.
How to Tell When Exterior Trim Needs Replacement
Exterior trim is designed to finish and protect vulnerable edges around windows, doors, corners, fascia boards, and siding transitions. Paint failure is often the first warning sign, but paint alone does not tell the whole story. Look closely for cracking, bubbling, open joints, dark staining, or trim that appears swollen along its lower edge.
A simple screwdriver test can reveal hidden decay. Press the tip gently into suspicious areas, especially where boards meet, at the bottom of window trim, and beneath roof edges. Sound wood resists pressure. If the screwdriver sinks in easily, the wood is soft, crumbly, or hollow, replacement is usually the right move.
Also look for clues above and around the damaged board. Rot commonly begins because of a leaking gutter, a failed drip cap, deteriorated window caulk, roof runoff, or siding installed too close to a deck, porch, or soil. Replacing trim without correcting that cause can lead to the same problem returning within a few seasons.
Start by Finding the Moisture Source
Before any board comes off, inspect the area during or soon after a rainstorm if possible. Watch where water travels. Overflowing gutters, missing kickout flashing, and roof valleys that dump water against siding are common trouble spots. Around windows and doors, failed sealant can let water enter at the top or sides and become trapped behind the trim.
Check whether the trim is touching the ground, mulch, concrete, or roofing. Wood needs clearance so it can dry. A board constantly exposed to wet soil or standing water will rot even if it is well painted.
This step may uncover a repair that is more involved than trim replacement. If there is extensive softness in wall sheathing, visible mold, signs of a window leak, or damage near electrical components, a professional assessment is the safer choice. The trim may be the symptom, not the full extent of the problem.
Choose the Right Replacement Material
The best trim material depends on the location, the home’s style, and how much exposure the area receives. Wood remains a good option when you need to match historic details or existing profiles. Use a quality exterior-rated product, seal every cut edge, and keep it protected with primer and paint.
Cellular PVC trim is a strong choice for areas that regularly get wet, such as window and door surrounds, rake boards, and lower trim near porches. It will not rot, but it expands and contracts with temperature changes, so it needs the right fastening method and joint details. It may not match every traditional trim profile without additional finishing work.
Fiber cement trim offers another durable option. It resists rot and insects and can provide a painted wood appearance, but it is heavier and creates silica dust when cut. Proper tools, dust control, and manufacturer-approved installation practices matter.
For many homes, a mixed approach makes sense. PVC can be useful at high-moisture locations while primed wood or fiber cement preserves the look of more visible architectural details. The right answer is not always the most expensive-looking material. It is the material that fits the location and is installed correctly.
Steps to Replace Rotten Exterior Trim
Replacing a single trim board can be manageable for an experienced homeowner with the proper tools. The work becomes more complicated around windows, rooflines, and second-story elevations, where flashing and weather-resistant barriers must be handled carefully.
Remove the damaged board without damaging what is behind it
Score paint and caulk lines with a utility knife first. This helps prevent paint from pulling away from nearby siding or trim. Use a pry bar carefully, placing a wood block behind it to spread pressure and protect surrounding materials.
Remove the board in sections if necessary rather than forcing a long piece free. Once it is off, inspect the backing. If the wall sheathing or framing is dark, soft, wet, or deteriorated, stop and address that damage before covering the area with new trim.
Prepare and repair the opening
Scrape away old caulk, loose paint, and debris. Let damp materials dry fully before closing the area back up. Replace damaged sheathing or blocking as needed, and make sure the surface is flat enough to support the new trim.
This is also the time to repair flashing. Water should always be directed outward, over the layers below it. For example, trim above a window needs proper flashing or a drip cap so rain cannot sit behind the top board. Caulk is useful as a secondary seal, but it should never be the only defense against water intrusion.
Measure carefully and cut accurately
Use the removed board as a template only if it was installed correctly. Measure the opening again, checking for out-of-square corners and uneven siding. A tight-looking fit matters, but trim should not be forced into place or installed so tightly that normal seasonal movement causes it to bow.
If you are using wood, prime the back, ends, and cut edges before installation. End grain absorbs water quickly, which is why an unsealed cut can become the starting point for another rot problem. With PVC or fiber cement, follow the material-specific fastening and cutting recommendations.
Fasten, flash, and seal the new trim
Use exterior-rated fasteners that will not rust and stain the finished surface. Fasten the board securely into solid backing, not just thin siding. Keep fasteners neatly spaced and slightly recessed if the material allows, then fill holes with a compatible exterior filler.
Apply exterior-grade sealant at joints where water could enter, but leave any designed drainage paths open. Avoid sealing the bottom edge of horizontal exterior trim when it needs to shed water and dry. This detail depends on the specific installation, which is why window and siding manufacturer instructions should take priority.
After the sealant cures, apply a high-quality exterior paint or coating suited to the material. Paint should bridge the trim surface evenly, but it cannot compensate for poor flashing, open joints, or wet wood underneath.
Common Mistakes That Lead to Repeat Rot
The most common mistake is replacing only the visible damaged section. If water has been entering from above, the new board may look great at first while moisture continues behind it. Another frequent issue is using interior caulk, unfinished lumber, or fasteners that rust after a few wet seasons.
Homeowners also run into trouble by painting before wood is dry, installing trim against roofing or soil, or covering a soft section of sheathing without repairing it. Those shortcuts can turn a straightforward maintenance repair into a siding, window, or structural project.
When the work involves upper-story fascia, extensive decay, active leaks, or trim around a window opening, professional help can provide valuable peace of mind. Smart Home Fix offers licensed and insured repair support for Knoxville-area homeowners who want the work completed carefully, with attention to the moisture issue behind the damage.
Keep New Trim in Good Condition
A quick exterior check twice a year can prevent most trim damage from spreading. Clear gutters, inspect caulk around windows and doors, touch up chipped paint, and trim back shrubs that hold moisture against the house. Pay extra attention after severe storms and in shaded areas where dampness lingers.
New exterior trim should look like it belongs there, but its real job is quieter: keeping water out of the places you cannot see. A careful repair today gives your home a better chance of staying dry, sound, and ready for the next stretch of Tennessee weather.