A bedroom door that needs a hard shoulder push to close is more than an everyday annoyance. It can scrape away paint, wake a sleeping child, catch on the threshold, or signal that the door frame has shifted. Knowing how to fix sticking doors starts with identifying exactly where and when the door binds. The right repair may be as simple as tightening a screw, but removing wood before checking the hinges can turn a small adjustment into an unnecessary repair.
Most sticking doors have a straightforward cause: loose hardware, seasonal wood movement, paint buildup, or a frame that is no longer square. Take a few minutes to inspect the problem before reaching for sandpaper or a planer. That approach protects the door, the finish, and the fit of the opening.
Find Where the Door Is Sticking
Open the door slowly and close it while watching the gaps around all four sides. Look for the point where it rubs, catches, or requires extra force. A thin, even gap around the top and sides is the goal. If one gap is tight while another is wide, the door may be sagging or the frame may be moving.
A simple test can make the contact point easier to spot. Close the door on a strip of paper at several places around the frame. If the paper slides out easily, there is clearance. If it tears or will not move, that area is too tight. You can also look for fresh scuff marks, compressed paint, or bare wood along the door edge and jamb.
Pay attention to the pattern. A door rubbing at the top on the latch side often points to loose hinges or a sagging door. Rubbing evenly along one edge may be caused by humidity or layers of paint. Binding at the bottom can mean a swollen door, a shifted threshold, loose flooring, or a problem with the subfloor.
Start With the Hinges
Hinges carry the weight of the door, so they are the first place to check. Over time, ordinary use can loosen hinge screws, especially the screws that anchor the top hinge to the door frame. Even a small amount of movement can cause the latch-side top corner of the door to drop and rub.
With the door open, tighten every hinge screw on both the door and frame using a screwdriver that fits properly. Avoid overtightening, which can strip the screw hole. If a screw turns but does not tighten, remove it and inspect the hole. A stripped hole will not hold the hinge securely, so the door will continue to sag.
For a minor stripped hole, insert wood glue and a few snug-fitting wood splinters or dowel pieces into the hole. Let the glue dry fully, trim the material flush, and reinstall the screw. For a top hinge that has repeatedly loosened, replacing one short screw with a longer screw that reaches the wall framing can provide a more secure hold. Take care not to drive it so deeply that it pulls the jamb out of alignment.
After tightening the hinges, test the door again. Many doors close normally after this one step. If it still sticks, the location of the rubbing will tell you what to check next.
Check for a Bent Hinge or Worn Hinge Pin
A damaged hinge can also throw off the door’s alignment. Look for hinge leaves that are bent, gaps between the hinge and wood, or a pin that has worked upward. A hinge pin that is loose or worn can make the door settle unevenly.
If the hinge is visibly damaged, replacement is usually more reliable than trying to bend it back into shape. Choose a hinge with the same size, corner style, and finish so the existing mortise in the door and jamb still fits. This is a small detail that prevents a basic repair from becoming a carpentry project.
Address Humidity and Seasonal Swelling
Knoxville homes experience humid summers, and wood doors can absorb moisture when indoor humidity rises. That expansion is often most noticeable on doors that fit tightly already, particularly exterior doors or bathroom doors exposed to moisture.
Before trimming a swollen door, consider whether the problem is temporary. Run your heating or cooling system as usual, use bathroom ventilation, and allow the home to return to a normal indoor humidity level. If the door sticks only during wet weather and works well the rest of the year, removing too much material can leave an oversized gap during drier months.
Check for moisture issues around exterior doors, including failing weatherstripping, leaks, or water entering near the threshold. A door that repeatedly swells is often reacting to a condition that needs correction. Once the area is dry and the door is functioning, sealing exposed wood edges with primer and paint helps slow future moisture absorption.
Remove Paint Buildup Before Trimming Wood
Fresh paint can make a previously well-fitting door stick, especially around the edges, hinge mortises, and door stop. Paint buildup is common in older homes where doors and trim have been repainted several times.
Look closely at the contact area. If you see thick, soft, or uneven paint rather than a true wood-to-wood rub, carefully remove only the excess paint. A sharp utility knife can score the paint line where the door meets the jamb. Light sanding can smooth a rough painted edge, but protect nearby surfaces and avoid sanding through the finish beyond the problem area.
If the latch itself catches, inspect the strike plate. Paint inside the strike opening or a slightly shifted plate can keep the latch from entering cleanly. Tighten the strike plate screws first. If the latch is just brushing one side of the opening, a small adjustment may solve the problem without altering the door.
How to Fix Sticking Doors That Need Trimming
When hinges are tight, humidity is under control, and the door still rubs on bare wood, careful trimming may be the correct repair. This is where precision matters. Removing too much material creates uneven gaps and can affect the appearance of the door.
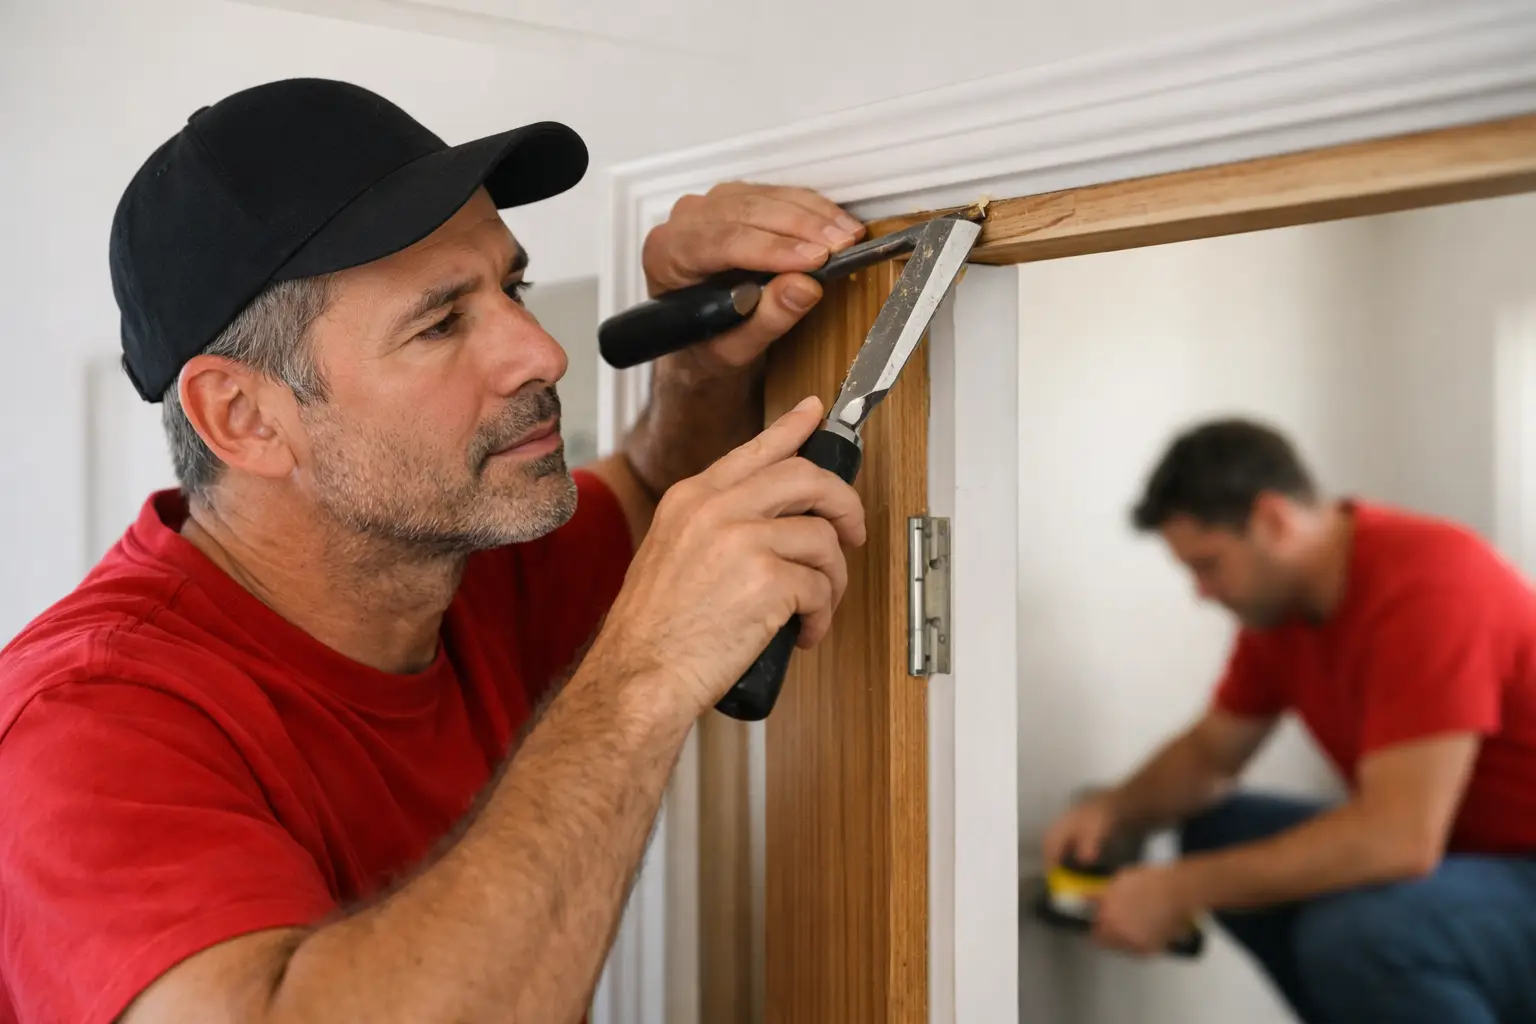
Mark the rubbing area using pencil marks or painter’s tape. Remove the door from its hinges and place it securely on sawhorses or a stable work surface. For a small adjustment, use a sanding block or power sander with a coarse grit followed by a finer grit. Work gradually, keeping the edge square and checking your progress often.
A hand plane can remove material efficiently from a solid wood door, but it requires a steady hand and proper setup. Hollow-core doors need more caution because their edges have limited solid material. Taking off too much can expose the hollow interior and require a more involved repair.
After removing a small amount of wood, reinstall the door and test it. Repeat only as needed. Once the fit is correct, seal the bare edge with primer and paint or a suitable finish. Unsealed wood can absorb humidity quickly and begin sticking again.
Do Not Ignore Bottom-Edge Problems
A door scraping the floor is not always a door problem. New flooring, a loose transition strip, a raised threshold, or movement in the floor can reduce clearance. Check whether the floor is level and whether anything has changed beneath the door before cutting the bottom edge.
For exterior doors, be especially careful. The sweep, threshold, and weather seal work together to keep out drafts and rain. Trimming the door without checking those components can create a gap that affects comfort and energy efficiency.
When a Sticking Door Suggests a Bigger Issue
Some doors stick because the house has settled, a wall has shifted, or moisture has affected the framing. You may notice multiple doors sticking at once, cracks near door or window corners, a frame that appears visibly out of square, or a door that suddenly will not latch after years of normal operation.
These signs do not automatically mean a serious structural problem, but they do mean a quick sanding repair may not last. Water damage around an exterior opening, foundation movement, or framing changes should be evaluated before cosmetic adjustments are made. The goal is to correct the cause rather than repeatedly forcing the door to fit.
A licensed and insured handyman can be a practical choice when the repair involves hinge reinforcement, jamb adjustment, trim work, thresholds, or several related issues. Smart Home Fix helps Knoxville-area homeowners handle these kinds of everyday repairs with careful attention to the details that keep a door operating properly.
A door should close with a firm, easy motion – not a shove, scrape, or slam. Begin with the simplest checks, make small adjustments, and stop before a minor fit issue becomes permanent damage. That patient approach usually leads to a quieter home and a repair that holds up through the seasons.