A dryer that suddenly needs two cycles to dry a normal load is not just frustrating. It can be a warning that lint has built up where you cannot see it. Knowing how to clean dryer vents helps protect your appliance, improve drying performance, and reduce a common household fire risk.
The lint screen catches a lot, but not all, of the fibers released during drying. Over time, lint moves through the transition hose and into the duct that leads outdoors. Moisture, dust, and even nesting material at the exterior vent can make that buildup worse. A careful cleaning is straightforward for many homeowners, but it needs to be done safely and completely.
Why a Clean Dryer Vent Matters
Your dryer relies on steady airflow to carry heat, moisture, and lint outside. When the vent is restricted, the dryer has to run longer and hotter. That can wear down the appliance, leave clothes damp, and allow lint to collect in areas where it should not.
A blocked vent can also send humid air back into a laundry room, which may contribute to condensation or musty odors. In East Tennessee, exterior vent hoods can collect pollen, leaves, and debris through the year. Checking the outside termination is just as important as cleaning the duct behind the dryer.
Common signs of a restricted dryer vent include unusually hot clothes or a hot laundry room, drying cycles that take longer than usual, a burning smell, visible lint around the dryer, or an exterior vent flap that barely opens while the dryer runs. Do not ignore a burning smell. Turn off the dryer and arrange for a qualified inspection before using it again.
What You Need Before You Start
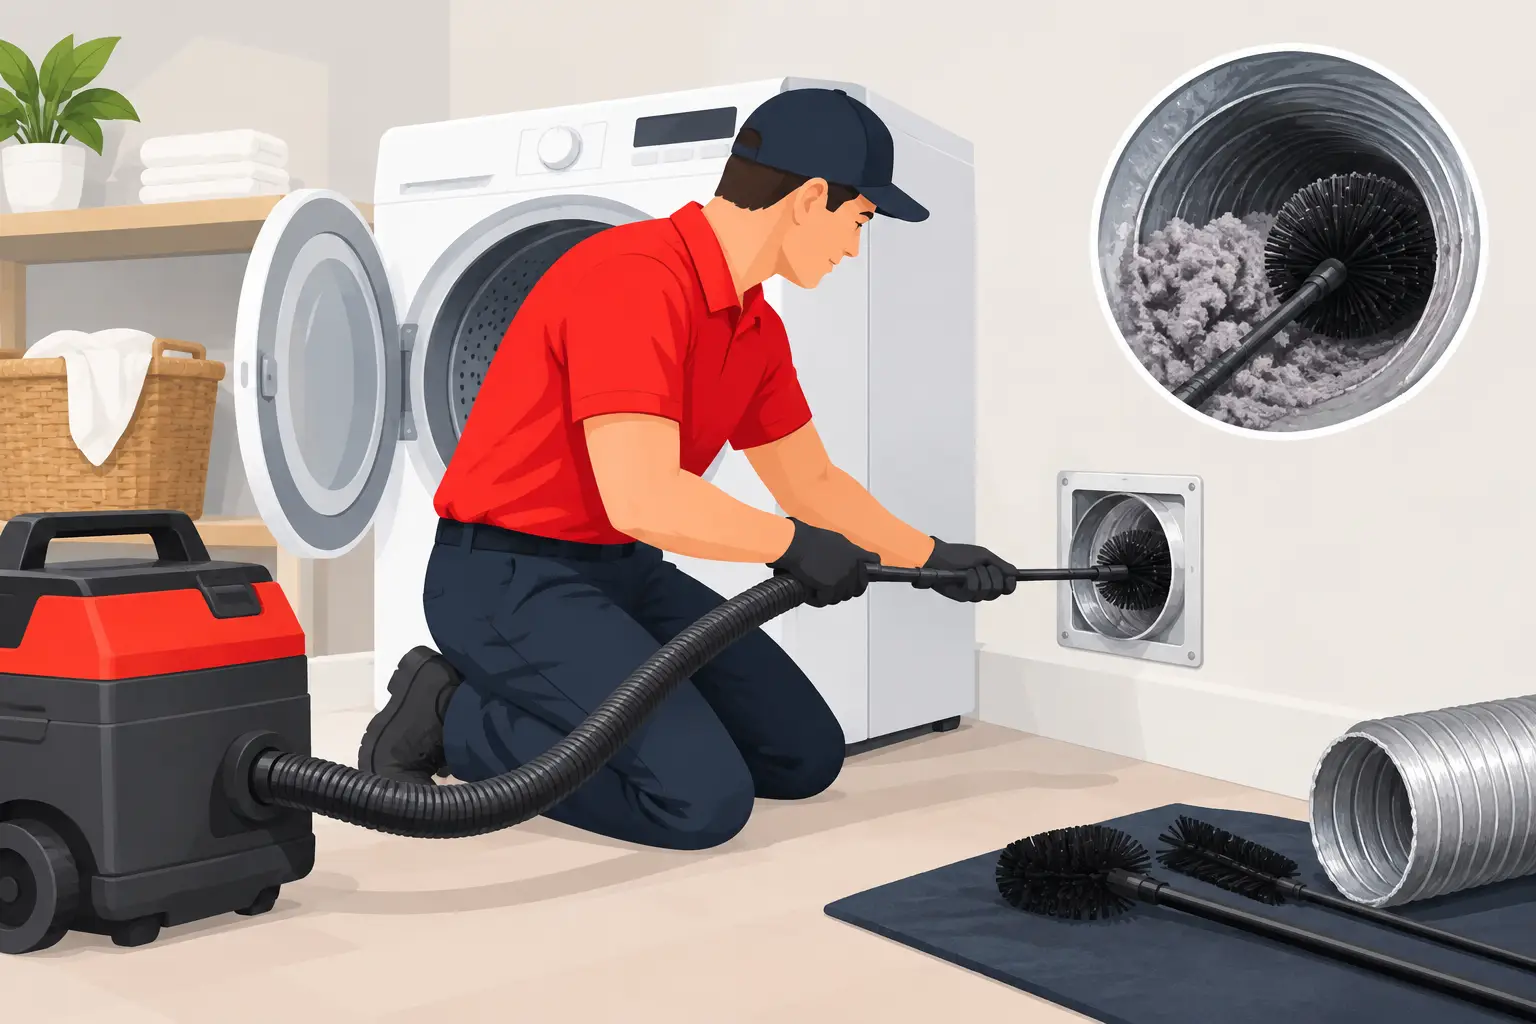
For a standard vent-cleaning job, gather a vacuum with a hose attachment, a dryer vent brush kit with flexible extension rods, a microfiber cloth, a screwdriver if needed, and a flashlight. A narrow crevice tool can help clean behind the dryer and around the connection.
Before moving the appliance, unplug an electric dryer. If you have a gas dryer, do not pull it far enough to strain, bend, or disconnect the gas line. Cleaning a hard-to-reach gas dryer setup, or one with a damaged connector, is a good reason to bring in a professional.
Take a quick look at the duct material as well. Rigid or semi-rigid metal ducting is generally the best choice for dryer exhaust. Thin foil-style ducts and plastic ducts can sag, tear, trap lint, or create a greater fire concern. If you find either one, consider having it replaced instead of simply cleaning around it.
How to Clean Dryer Vents Step by Step
1. Clean the lint screen and its housing
Remove the lint screen and clear away the lint by hand. Wash the screen occasionally with warm water and a little dish soap, especially if you use dryer sheets or fabric softener. Those products can leave a film that restricts airflow even when the screen looks clean. Let it dry fully before reinstalling it.
Use a vacuum hose or lint-screen brush to clean inside the screen housing. Work gently so you do not push lint farther down. This small step is often overlooked, yet it is one of the easiest ways to improve airflow.
2. Pull the dryer out carefully
With the dryer unplugged, ease it forward enough to access the rear vent connection. Avoid dragging the appliance across flooring or crushing the vent hose. If the connection is taped or clamped in place, loosen it carefully and set the hardware aside.
Inspect the transition duct between the dryer and wall. It should not be kinked, crushed, excessively long, or packed with lint. This short section is often where the heaviest buildup occurs because it has bends and can shift when the dryer is moved.
3. Vacuum the dryer outlet and transition duct
Vacuum lint from the dryer exhaust outlet and from both ends of the transition duct. Use a flashlight to check for tears, rust, loose joints, or lint that has become damp and compacted.
If the duct is damaged, replace it rather than trying to patch it with household tape. Connections should be secure without protruding screws inside the airflow path, since screws can catch lint. Foil tape designed for duct connections is a better choice than standard cloth-backed duct tape.
4. Brush the wall duct from inside
Feed the vent brush slowly into the wall duct, adding extension rods as necessary. Rotate the brush gently as you advance and pull it back out every few feet to remove collected lint. For many homes, it is safer and more effective to make several controlled passes than to force the brush through a tight bend.
Do not use a leaf blower or compressed air as a shortcut. Those methods can push lint deeper into the system, damage weak duct connections, or fill the outdoor vent area with debris. A brush-and-vacuum approach is slower, but it gives you more control.
5. Clean the exterior vent hood
Go outside and locate where the dryer vent exits the home. Remove lint from the hood, flap, or louvers and clear away leaves, mulch, cobwebs, and other debris. The flap should open freely when air flows out and close afterward to help keep out pests and weather.
If you find bird nests, insect nests, a broken damper, or a vent hood that is difficult to reach safely, stop there. Exterior work at height or repairs to a damaged termination are better handled with the right equipment and experience.
6. Reconnect and test airflow
Reconnect the transition duct, making sure it is not crushed when you slide the dryer back into place. Restore power, then run the dryer on an air-only or short drying cycle. Check outside to confirm that air is moving strongly through the vent hood and the flap opens.
A small amount of leftover lint may blow out after cleaning. However, weak airflow, excess heat, rattling, or a continuing burning odor means the issue may be deeper in the duct system or inside the dryer itself. Turn the dryer off and have it evaluated.
How Often Should You Clean a Dryer Vent?
Most households should clean the full dryer vent at least once a year. Homes that run several loads each week, have pets, use long vent runs, or wash heavy items like towels and bedding may need service more often. A vent that travels a long distance through a wall, attic, crawlspace, or roof has more opportunities for lint to settle at bends.
You do not need to wait for a full annual cleaning to pay attention to performance. Clear the lint screen after every load, inspect the exterior hood regularly, and notice changes in drying time. Those simple habits can alert you before a partial blockage becomes a more serious problem.
When a DIY Cleaning Is Not Enough
Some dryer vent systems are difficult to clean effectively without professional tools. This includes ducts with multiple turns, very long runs, roof exits, concealed damage, or repeated blockages. If you cannot get a brush through the duct, do not force it. You could separate a joint inside a wall or leave a large lint plug farther down the line.
You should also seek help if the dryer continues overheating after the vent has been cleaned, if moisture appears near the duct, or if there are signs of an improper duct material or installation. The problem may involve the appliance, the vent route, or an exterior termination that needs repair.
For Knoxville-area homeowners who would rather not move a heavy appliance or work around a hard-to-access vent, Smart Home Fix provides dependable, licensed and insured help with practical home maintenance needs. A properly cleaned and connected dryer vent is one of those small jobs that can make daily life easier and keep your laundry area working the way it should.