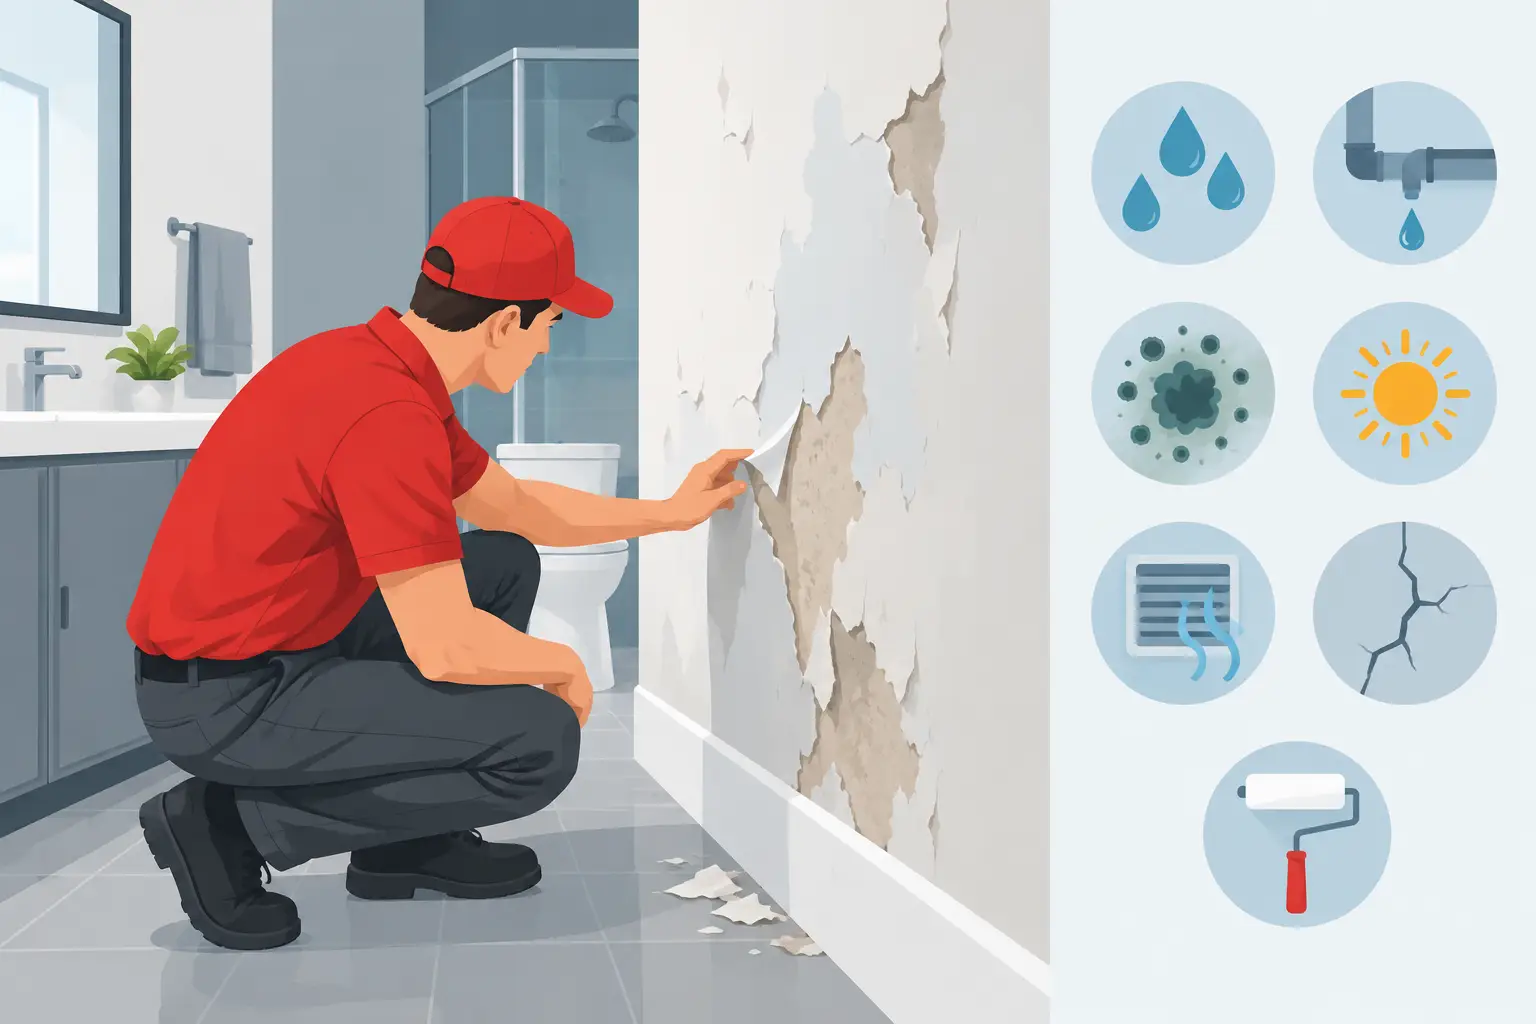
A bathroom wall can look perfectly fine after a quick paint job, then start bubbling, cracking, or shedding paint a few months later. So, what causes peeling bathroom paint? In most cases, the paint itself is not the real problem. Moisture, poor surface preparation, hidden leaks, or the wrong coating usually caused the failure before the first spot began to peel.
Peeling paint is worth addressing early. Beyond making a bathroom look neglected, it can signal excess humidity or water getting where it should not. Finding the cause before repainting is the difference between a durable repair and another round of peeling.
What Causes Peeling Bathroom Paint Most Often?
Bathrooms put paint under more stress than almost any other room. Daily showers create warm, humid air that settles on walls and ceilings. Splashes reach areas near tubs and sinks. If the room cannot dry properly, moisture works its way into tiny gaps in the paint film.
Once moisture gets behind paint, adhesion weakens. The paint may form blisters, curl at the edges, or pull away in sheets. That process can happen slowly, especially on a ceiling, or show up quickly after a long hot shower.
1. Too Much Humidity and Not Enough Ventilation
The most common answer to what causes peeling bathroom paint is trapped humidity. A bathroom exhaust fan should move moist air outside, not simply into an attic or another enclosed space. If the fan is undersized, clogged with dust, rarely used, or not vented correctly, steam stays in the room and condenses on cooler surfaces.
Opening a window can help, but it is not always enough in East Tennessee’s humid climate. Run the exhaust fan during showers and for at least 20 to 30 minutes afterward. If mirrors remain fogged long after bathing or walls feel damp, the ventilation system may need attention.
2. A Hidden Plumbing or Roof Leak
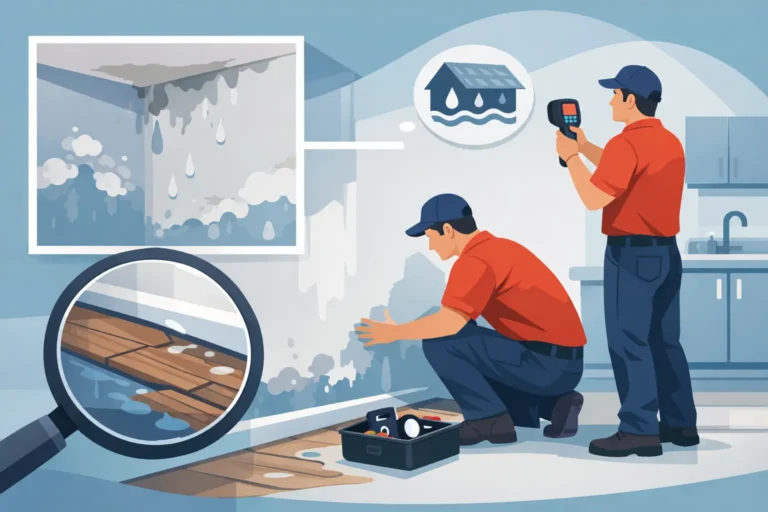
A leak often causes paint failure in one concentrated area rather than across the entire bathroom. Look for yellow or brown staining, a soft drywall surface, recurring bubbles, or peeling that begins near a pipe, shower wall, ceiling fixture, or exterior wall.
A small leak behind a vanity or inside a wall can go unnoticed for a long time. Repainting over the damage may improve the appearance temporarily, but the new finish will fail if the material underneath remains damp. The leak and any water-damaged drywall or trim need to be repaired and thoroughly dried first.
3. Painting Over a Damp Surface
Fresh paint needs a clean, dry surface to bond properly. Bathrooms are easy to paint at the wrong moment – after a shower, after cleaning with water-based products, or before recently patched drywall has dried completely.
The surface may feel dry to the touch while moisture remains in the wall or patch material. When paint traps that moisture, it can blister and peel as the wall dries. This is also why painting after a leak repair should wait until the affected area has had adequate time to dry.
4. Poor Surface Preparation
Paint does not adhere well to soap residue, hairspray, body oils, mildew, dust, or loose old paint. Bathroom walls can develop an almost invisible film that prevents a new coat from bonding, particularly around showers and vanities.
Before painting, loose material should be scraped away, damaged edges feather-sanded, and the surface cleaned with an appropriate wall cleaner. Glossy paint may also need light sanding or a bonding primer. Skipping these steps can leave the new paint attached to residue instead of the wall itself.
5. The Wrong Paint or Primer
Not every interior paint is made for wet rooms. Flat paint can look attractive, but it is generally less washable and more vulnerable to moisture than a quality bathroom-rated paint in an eggshell, satin, or semi-gloss sheen. The right sheen depends on the wall condition and the look you want, but higher-sheen finishes generally resist moisture and cleaning better.
Primer matters, too. Bare drywall, patched areas, repaired water stains, and surfaces with major color changes may all need a suitable primer before the finish coat. Paint-and-primer products can work well on sound, previously painted walls, but they are not a substitute for stain-blocking or bonding primer when the surface calls for one.
6. Incompatible Layers of Paint
Sometimes the visible paint is not failing on its own. It is pulling away because an older layer beneath it has poor adhesion. This is more likely in older homes where walls may have been painted repeatedly without proper cleaning, sanding, or priming between coats.
If paint comes off in several layers or exposes a chalky surface, simply adding another coat is unlikely to solve the issue. The weak material needs to be removed until you reach a stable surface. From there, proper priming and repainting can create a lasting finish.
7. Mold or Mildew on the Wall
Mildew is another sign that moisture is lingering too long. It may appear as small black, gray, or green spots around the shower, on ceilings, behind toilets, or near exterior corners. Painting over active mildew is not a repair. It can continue growing beneath the new finish and interfere with paint adhesion.
Clean the area safely with a mildew-removing product suited to the surface, then allow it to dry completely. More importantly, correct the moisture source. In many bathrooms, that means improving ventilation, repairing a leak, or changing daily habits that keep the room damp.
How to Tell Moisture Damage From a Paint Prep Problem
The location and pattern of peeling offer useful clues. Paint peeling broadly across the ceiling or upper walls often points to humidity and poor ventilation. Peeling near a shower surround, tub edge, plumbing wall, or ceiling stain may indicate a leak or failed caulk. Peeling in random patches shortly after painting can suggest inadequate cleaning, poor drying time, or an incompatible primer.
Press gently on the affected wall. If it feels soft, swollen, or crumbly, drywall may have water damage and should be evaluated before paint work begins. If the wall is solid and dry but the paint lifts easily, preparation and adhesion are more likely to blame.
Do not ignore a musty odor, repeated mildew, or peeling that returns after each repair. Those signs usually mean the bathroom has an ongoing moisture issue, not just a cosmetic one.
The Right Way to Repair Peeling Bathroom Paint
A lasting repair begins with correcting the underlying problem. Run and inspect the exhaust fan, check for plumbing leaks, and make sure shower caulk and grout are intact. If the fan is noisy, weak, or does not clear steam effectively, it may need cleaning, repair, or replacement.
After the room is dry and the cause is resolved, remove every loose edge of paint. Sand the transition between bare and painted areas until it feels smooth, then clean away dust. Repair damaged drywall as needed and let patches dry fully. Apply the primer that matches the surface condition, followed by quality paint designed for bathrooms.
Avoid rushing between coats. Paint labels list recommended dry and recoat times, but a cool or humid bathroom may need longer. Good airflow helps, as long as it does not blow dust onto the fresh finish.
Prevent Peeling Before It Starts
Small routines protect a new paint job. Use the exhaust fan every time someone showers, wipe heavy condensation from windows or walls, and keep the bathroom door open after bathing when practical. Repair dripping faucets, leaking toilet connections, and damaged caulk promptly before water reaches drywall.
For busy homeowners, the key is to treat recurring peeling as a maintenance warning rather than a painting inconvenience. A properly prepared, well-ventilated bathroom should not need frequent touch-ups. When water damage, ventilation concerns, or failed paint layers make the repair more involved, Smart Home Fix can help Knoxville-area homeowners identify the cause and restore the room with professional care.
A fresh coat of paint should be the final step, not the first. Once the bathroom is dry, sound, and properly prepared, the finish has a much better chance of staying where it belongs.